

Whether you are navigating a complex reimbursement for an out-of-network specialist or simply trying to understand why your “cashless” procedure resulted in a bill, this guide is your playbook. We will walk you through the terminology, the paperwork, and the exact steps to ensure your claim isn’t just filed, but approved.
Understanding the Health Insurance Claim Lifecycle
Before you fill out a single form, you must understand the invisible machinery working behind the scenes. A “claim” is essentially a formal request to an insurance company for coverage or compensation for a covered medical expense or policy event.
The process typically follows a standard timeline, known in the industry as the Revenue Cycle:
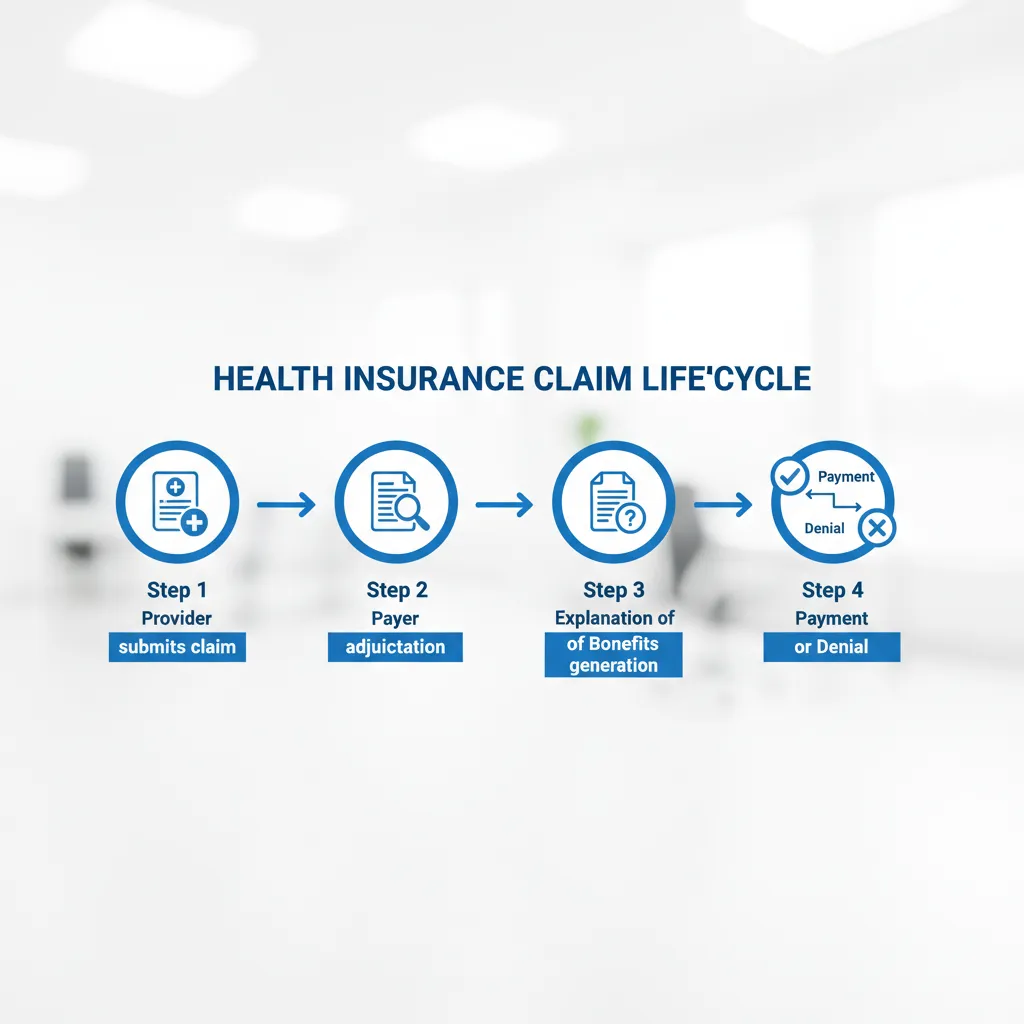
- Submission: The provider (doctor/hospital) or the policyholder sends the bill to the insurer using standardized codes (CPT for procedures, ICD-10 for diagnoses).
- Adjudication: The payer’s automated system checks the claim against your policy benefits. They look for medical necessity, coverage limits, and network status.
- Determination: The insurer decides to pay, deny, or request more information.
- Notification: You receive an Explanation of Benefits (EOB). This is not a bill, but a statement detailing what was covered and what you owe.
Step-by-Step Guide: Cashless vs. Reimbursement Claims
There are two primary ways claims are processed. Understanding the difference can save you weeks of waiting.
1. Cashless Claims (The Preferred Route)
In a cashless scenario, the insurer settles the bill directly with the hospital. You pay only your deductible or co-pay.
- Pre-Authorization is Key: You must inform the insurer before a planned hospitalization (usually 48-72 hours prior) or within 24 hours of an emergency admission.
- The Network Matter: This is only available at “Network Hospitals” that have a tie-up with your insurer.
- The Process: Present your health card at the hospital’s insurance desk. They fill out a pre-auth form. Once approved, the insurer issues a “Letter of Guarantee.”
2. Reimbursement Claims (The Manual Route)
If you visit a non-network hospital, you pay the bill upfront and request reimbursement later. This requires meticulous documentation.
- Step 1: Pay all hospital bills and collect original receipts.
- Step 2: Obtain the discharge summary, diagnostic reports, and pharmacy bills.
- Step 3: Fill out the claim form (available on your insurer’s portal).
- Step 4: Submit the physical or digital dossier to the Third Party Administrator (TPA) or insurer within 7–15 days of discharge.
Comparison: Cashless vs. Reimbursement
| Feature | Cashless Claims | Reimbursement Claims |
|---|---|---|
| Financial Burden | Low (Deductibles/Co-pays only) | High (Full payment upfront) |
| Network Requirement | Strictly Network Hospitals | Any Hospital (Network or Non-Network) |
| Documentation | Handled mostly by the hospital | Handled entirely by the patient |
| Processing Time | Immediate (Real-time approval) | 15 to 45 days (Industry Standard) |
Common Reasons for Claim Denials (and How to Avoid Them)
In 2024, data indicates that 77% of denials stemmed from paperwork or plan design issues rather than medical judgment. This is good news—it means most denials are preventable.
- Inaccurate Patient Data: A misspelled name or a wrong policy number is the #1 reason for rejection. Always double-check your ID card against the hospital records.
- Missing Medical Codes: If your doctor uses an outdated CPT code, the computer will auto-reject it. Ensure your provider uses current ICD-10 standards.
- Lack of Medical Necessity: Insurers often deny claims for tests they deem “investigational” or “cosmetic.”Pro Tip: Ask your doctor to write a Letter of Medical Necessity (LMN) explicitly stating why a treatment is vital for your health, not just “recommended.”
- Timely Filing Limits: Most policies have a window (usually 90 to 180 days) to file. If you wait a year, you are out of luck.
How to Appeal a Denied Claim (The Secret Weapon)
Receiving a denial letter is not the end of the road; it is the start of a negotiation. Remember the statistic: less than 1% appeal, yet the success rate is high. Insurers bank on you giving up.
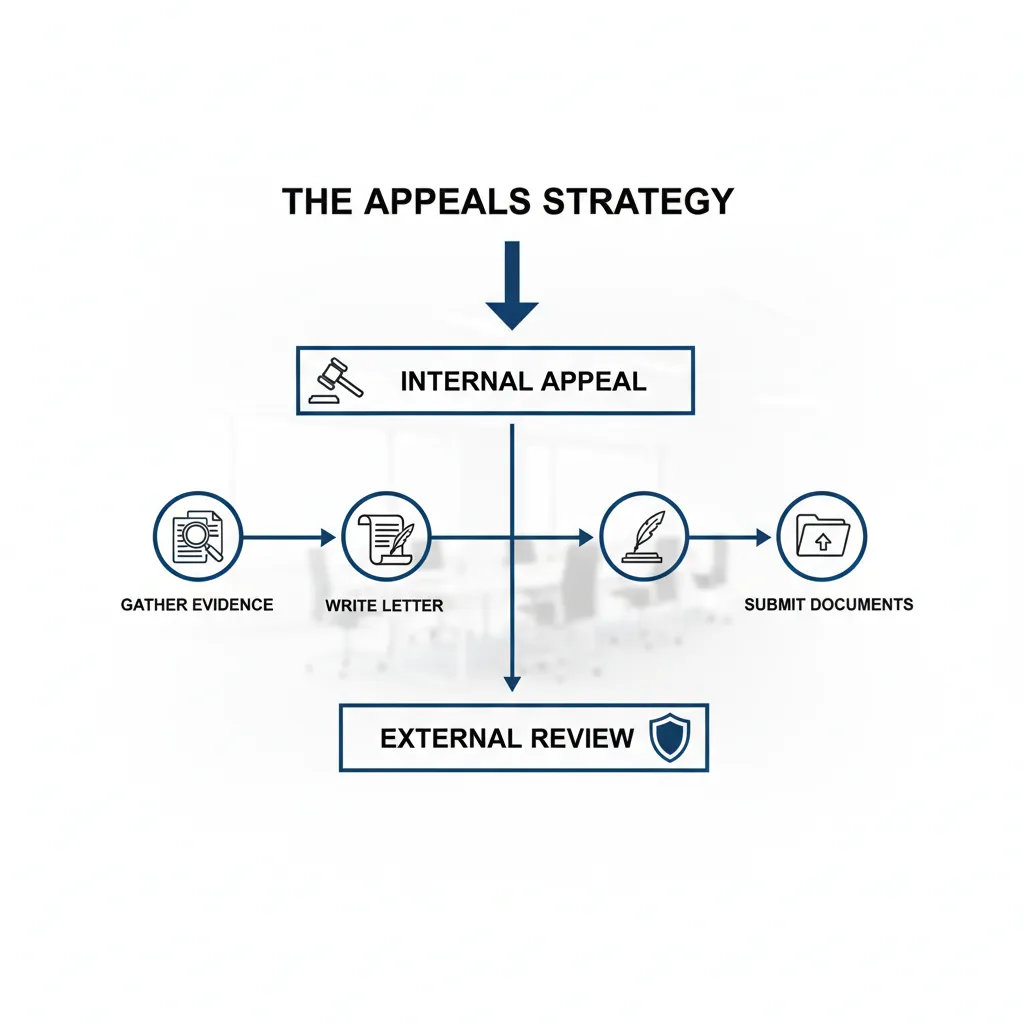
The Appeals Workflow
- Review the EOB: Look for the “Reason Code.” It might be something simple like “Duplicate Claim” or “Coordination of Benefits.”
- Call Customer Service: Sometimes, a simple phone call can fix a clerical error. Document the representative’s name and the call reference number.
- File an Internal Appeal: Write a formal letter. Attach new evidence (medical records, doctor’s notes). State clearly: “I am appealing the denial of claim #12345 based on the fact that…”
- Request an External Review: If the internal appeal fails, you have the right under the Affordable Care Act (in the US) to demand an independent third party review the case. Their decision is binding on the insurer.
Digital Tools and Portals: Streamlining the Process
Gone are the days of faxing receipts. Modern insurers utilize Electronic Data Interchange (EDI) which can cut processing time from 45 days down to 7–14 days.
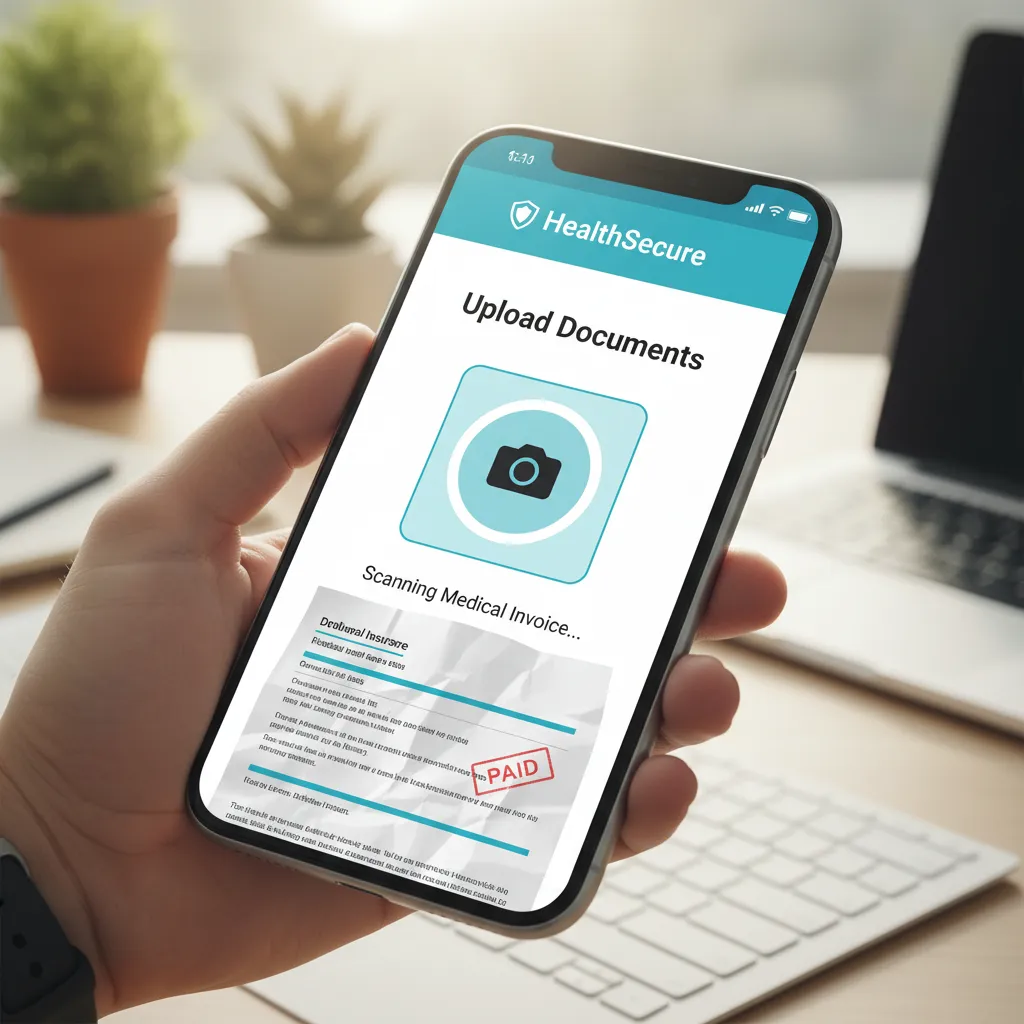
Most major insurers now offer mobile apps that allow you to:
- Snap and Submit: Take photos of invoices and upload them instantly.
- Track Status: See exactly where your claim is in the queue (e.g., “Pending Adjudication”).
- Digital ID Cards: Never lose your policy details again.
Expert Advice: Always keep physical copies of your documents for at least 3 years, even if you upload them digitally. Digital glitches happen; paper trails are permanent.
Frequently Asked Questions
How long does it take for a health insurance claim to be paid?
For electronic claims, the industry standard is 7 to 14 days. For manual or paper-based reimbursement claims, it typically takes 30 to 45 days. However, complex claims requiring medical review can take longer.
What is the time limit to file a health insurance claim?
This varies by policy, but the standard “timely filing limit” is usually between 90 days and 1 year from the date of service. Check your policy document under the “Claims” section for the exact deadline.
Can I claim insurance if I go to a non-network hospital?
Yes, but you cannot use the cashless facility. You must pay the bill yourself and file for reimbursement later. Be aware that out-of-network coverage often has higher deductibles and co-insurance rates.
What should I do if my claim is denied due to “Medical Necessity”?
You should file an appeal immediately. Ask your treating physician to provide a detailed letter explaining why the specific treatment was essential for your condition and citing standard medical guidelines that support this decision.
Conclusion
Filing a health insurance claim doesn’t have to be a battle. By understanding the difference between cashless and reimbursement, keeping meticulous records, and knowing your rights to appeal, you can navigate the system with confidence. Remember, the insurance contract is a two-way street: you pay your premiums, and they are obligated to pay your valid claims. Don’t leave money on the table—advocate for your health and your wallet.